Installation Instructions
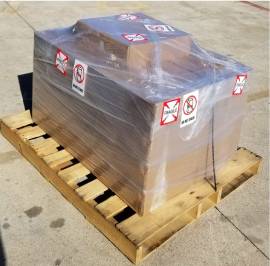
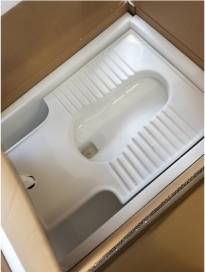
1. Unpack the Box
2. Turn off water at the shutoff valve.
3. Flush the toilet to drain water from water tank.
4. Disconnect the water supply line.
5. Unbolt the old toilet & put it in the big plastic bag provided in the kit.
6. Temporarily stuff a rag into the soil pipe to block sewer gas & prevent hardware from falling in.
7. Remove old Caulk with a scraper.
8. Check the state of old toilet bolts, if rusted or in bad shape, recommend changing it, use new bolts provided in the kit.
9. Inspect the flange, replace it if needed. Now remove the rag from the sewer pipe.
10. Install new wax ring on the flange.
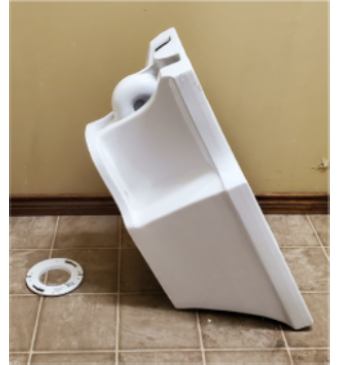
11. Place the toilet in this position (image on left) & slowly lower it down towards the ground, set it up on a wax ring & Install toilet just like any USA standard toilet.
12. Make sure the toilet is level on the ground. (use level)
13. Use toilet bolts & cap to secure the toilet (provided in the Kit)
14. Use Plastic shims under the toilet to fill any gap & to make the toilet stable. Cut the extra shim with a cutter.
15. Seal the toilet around with a caulk
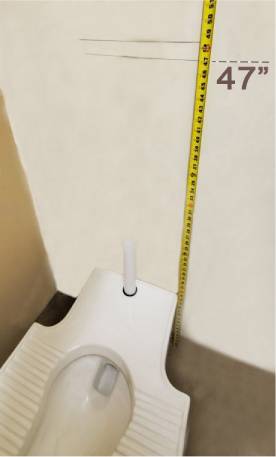
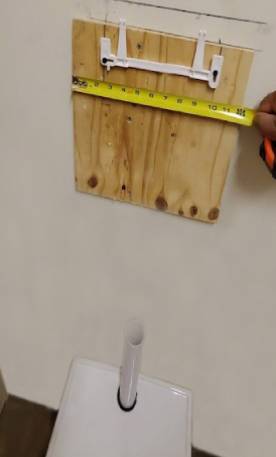
16. Mark 47” height from the ground, use butterfly anchors provided in the installation kit to hang the wood board on the wall, after that hookup water tank as below.
17. Connect water supply pipe, slowly turn on the water shutoff and allow the tank to fill.
18. In the end, flush multiple times to make sure water doesn’t leak anywhere.